Growing tea at home has something deeply intimate about it. The plant that for centuries crossed mountains, monastic gardens, misty slopes, and ceremonial homes can, in fact, grow close to you — in the backyard, in a well-prepared bed, or even in a large pot on the right balcony. When that happens, tea stops being only a beverage and becomes a living presence: leaf, bud, waiting, season, and care.
Golden rule of cultivation: Camellia sinensis prefers acidic, fertile, moist, and very well-drained soil. In many cultivation references, the ideal range is around pH 4.5 to 5.5; above that, vigor may decline and the plant tends to respond less well.
Growing Tea Means Growing Time
One of this plant’s true beauties is that it teaches rhythm. Those starting from scratch do not harvest immediately, and that is part of the experience. In many contexts, the first harvest usually arrives after 3 to 4 years; in tropical environments, some cultivars may respond sooner. Already established seedlings shorten that path and are an excellent choice for those who want to begin with more security and less waiting.
Even so, long before the first leaf is harvested, the plant already offers something precious: form, texture, budding, and the rare feeling of following a living raw material. It is a kind of cultivation that rewards both the eye and patience.

Where Camellia Feels at Home
The best setting for Camellia sinensis combines four things: acidity, drainage, stable moisture, and well-balanced light. In some climates it can do well in full sun; in others, especially where the heat intensifies during the harshest hours of the day, partial shade or filtered light tends to be a more elegant and safer choice for young leaves.
- 1Acidic soil rich in organic matter, preferably with the profile of an acid-loving plant mix.
- 2Constant moisture, but without waterlogging: tea roots do not like heavy, stagnant soil.
- 3Abundant light, adjusted between sun and partial shade depending on climate intensity.
- 4Protection from dry winds, severe cold, and extremes that may stress the plant.
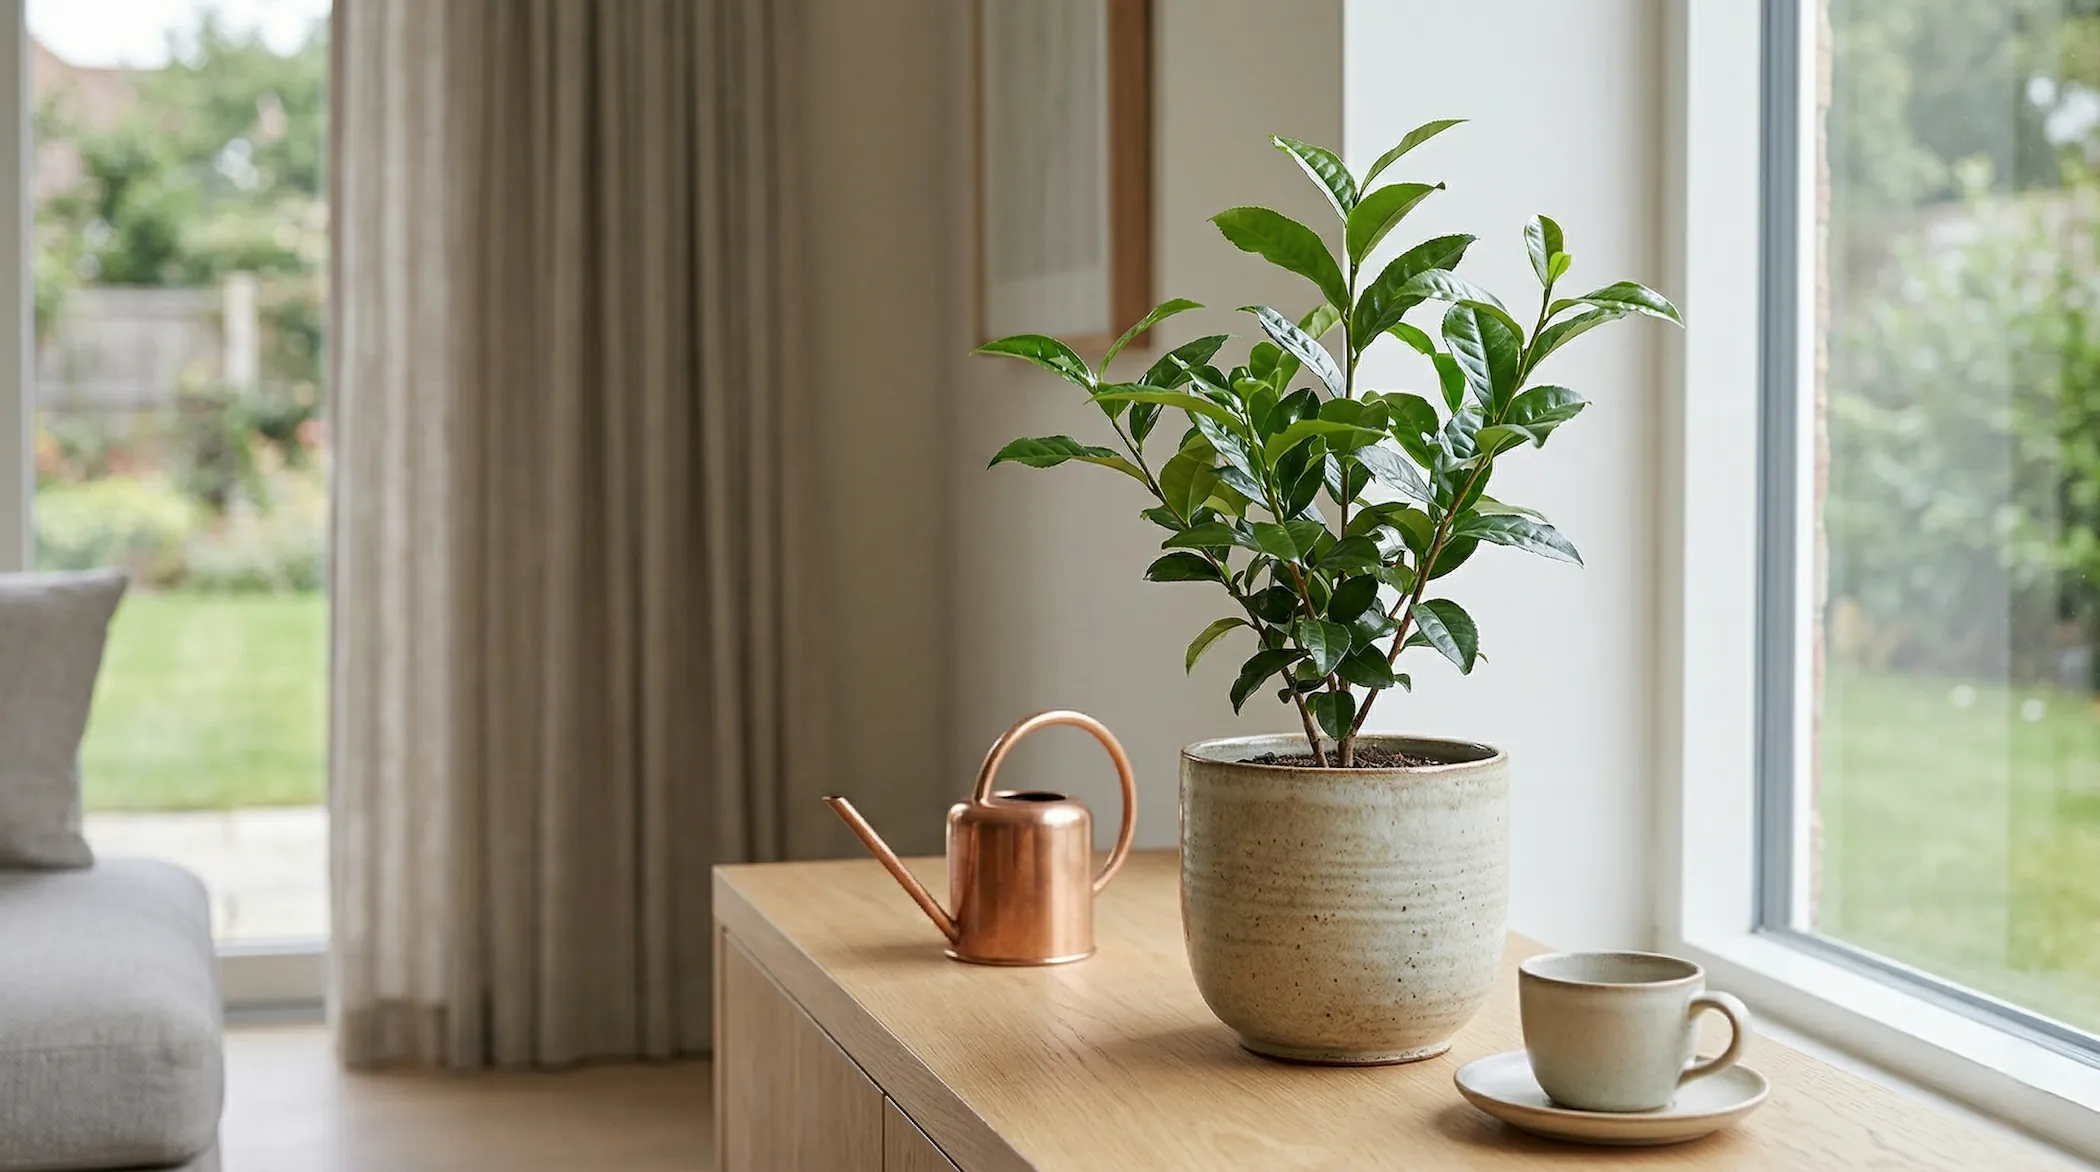
Pot, Raised Bed, or Garden?
For many people, a pot is the best place to begin. And that does not mean improvisation: it means control. Since the plant appreciates acidic soil and well-settled roots, a large, deep container can be an excellent solution, especially when the ground soil is alkaline, heavy, or difficult to correct. Growing guides recommend roomy containers — above 5 gallons — to give the root system enough space.
In the garden, the logic changes a little. The plant needs good drainage, space, and a position consistent with the local climate. In hot and humid areas, raised beds and mulch made from bark or organic matter help stabilize moisture and protect the root zone.
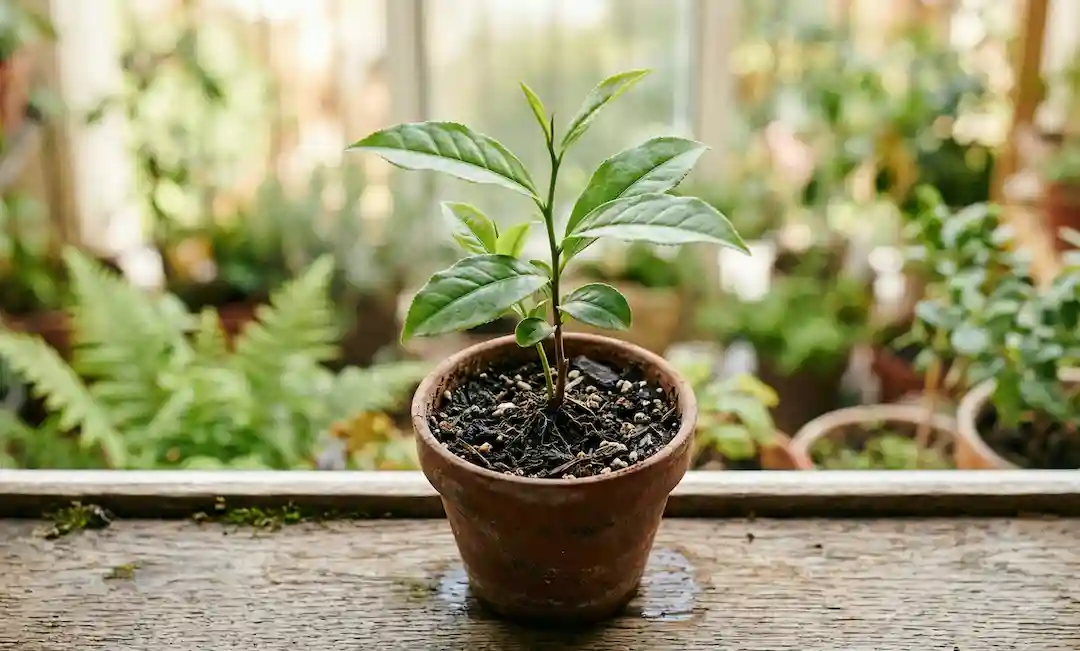
Method 1: Starting from Seed
Sowing Camellia sinensis means choosing the slowest path and, for many people, the most beautiful one. There is something deeply satisfying about following the plant from the beginning, knowing that each seed may produce an individual slightly different from the next. Unlike cuttings, seeds do not reproduce the mother plant with perfect fidelity — and that is precisely why they carry surprise.
- 1Use fresh seeds whenever possible and soak them for about 24 hours.
- 2Separate the seeds that sink: they usually form the main sowing batch.
- 3Sow in a well-drained substrate, with the seed’s “eye” in a horizontal position and about 1 inch deep.
- 4Keep the setup moist and under heavy shade at first; germination may take 1 to 2 months.
- 5After the seedling develops 3 to 4 leaves, gradually move it to slightly brighter light and light feeding for acid-loving plants.
Method 2: Propagation by Cuttings
If seed brings variation, cuttings bring continuity. That is why vegetative propagation is so important: a plant obtained from a cutting is genetically identical to the mother plant. For those who want to preserve traits of vigor, growth habit, or leaf quality, this path makes a great deal of sense.
- 1Choose healthy material, with intact leaves and no signs of fungus or pests.
- 2Prepare the cutting in the shade, using a clean tool and a well-defined cut.
- 3The classic method uses a single-node cutting with one healthy leaf preserved.
- 4Use a light, moist substrate, maintaining high ambient humidity without sacrificing ventilation and hygiene.
- 5Root formation varies according to cultivar, season, rooting medium, and management; what matters most is that the leaf remains alive and healthy during the process.
A mini greenhouse helps, but an overly stuffy environment becomes a trap. High humidity favors rooting; stagnant humidity favors fungi. In home growing, ventilation and cleanliness are just as important as the plastic cover.
Water, Pruning, and Growth Rhythm
Tea plants like regularity. During the establishment phase, they should neither dry out completely nor remain waterlogged. In conditions without enough rainfall, cultivation references indicate recurring watering throughout the week until the plant is established, always keeping an eye on drainage.
Pruning also enters the story early. For home leaf production, the plant is usually kept at a manageable height, encouraging the emergence of new shoots and making harvesting easier. In extension guides, this management appears as a central part of tea cultivation, not as a cosmetic detail.

The First Harvesting Gesture
Once the plant is established, harvesting begins with delicacy. In many production systems, the classic reference is to pick the terminal bud and the 2 or 3 youngest leaves. At home, the principle remains beautiful and simple: harvest lightly, with precision, and without exhausting the plant in its early years.
Perhaps this is the most moving moment of the entire process. Not because the quantity will be large, but because that leaf will no longer be merely bought or prepared: it will have been accompanied. And that changes the cup forever.
What to Observe in the Routine
Camellia sinensis is not usually theatrical in its suffering — it warns in subtle signs. Burned leaves may indicate too much harsh sun; weak growth may point to unsuitable soil; roots in heavy soil suffer from excess water. Stressed plants also become more vulnerable to pests such as aphids, mites, and scale insects, which deserve special attention on the underside of the leaves.
In the end, growing tea at home is not about reproducing a miniature farm. It is about establishing a small territory of observation and care. The plant asks for technique, yes — but above all, it asks for consistency. And perhaps that is exactly what makes it so enchanting: each new bud seems to quietly remind us that tea begins long before the kettle.